
Well, its been about 6 weeks since I posted part one of this article, and since the model is now complete, its a good a time as any to write the second and final instalment.
Here I will describe the exterior build, painting and weathering and a few lines about the vignette base.
A quick “flash-back” from part 1:
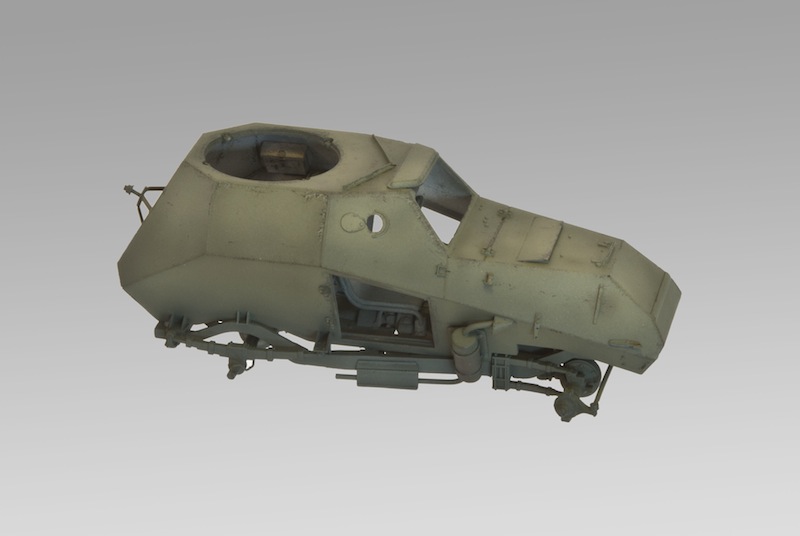
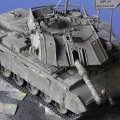
This is where I left off in part 1, as you can see there were some “minor challenges” in the fit of the upper and lower hull.
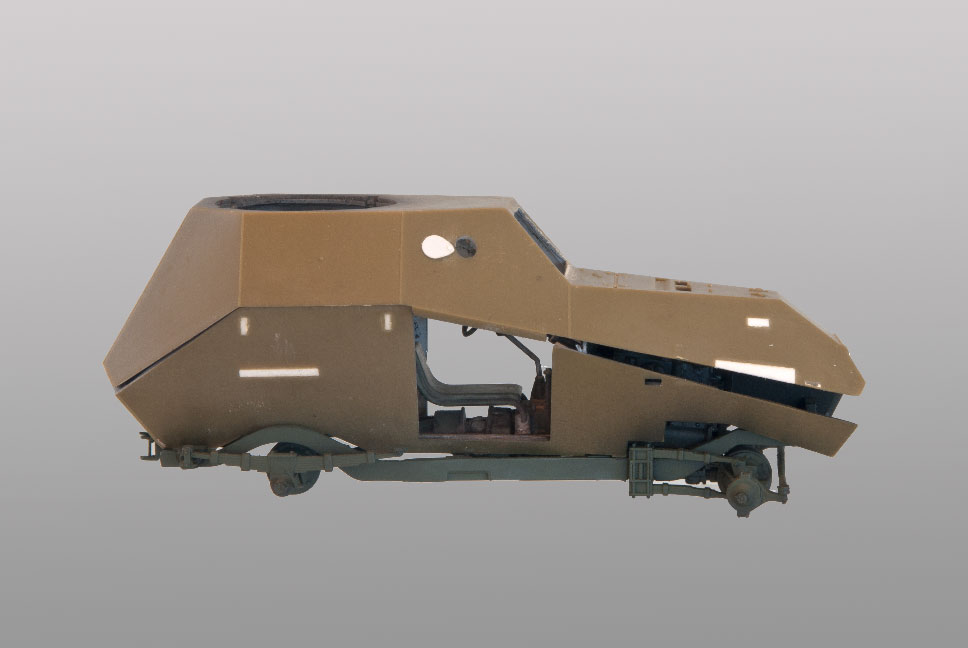
In the picture above you can also see that I had to fill some large attachment grooves for the mud guards (since I would not be mounting these). Instead of filling them with putty, I chose to use suitable shapes made from plastic card.
Ok, lets continue!
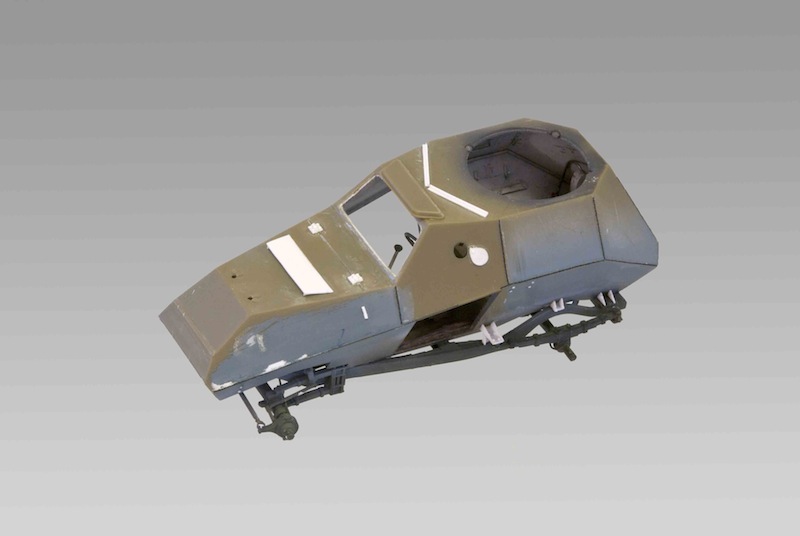
Fortunately, the lower hull was not warped, so it was a simple matter of bending the upper hull slightly so it would properly mate to the lower tub. This is where I made my first mistake of the build. Being too eager, I had already glued the chassis to the lower tub before this assembly step, and as such I did not have a clear surface on the underside of the model for clamping the two halves together as the glue dried. It all worked out in the end, but it was rather a delicate operation. I used both Tamiya styrene cement and CA glue here, fortunately the upper hull part was quite soft so it did not spring back as the glue dried.
After the two halves were fixed together, I had to use some putty to fill gaps here and there.
Detailing the exterior:
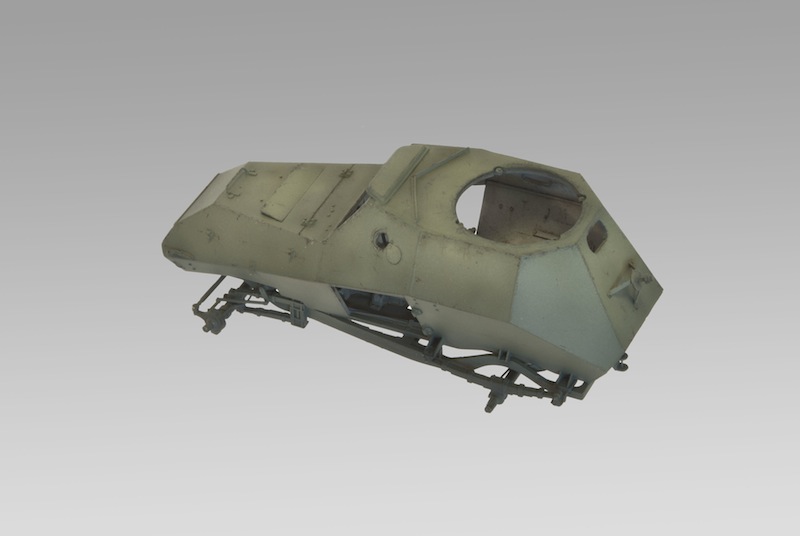
There are several weld seams missing from the model, and these were added using Archer Fine Transfers “weld decals”. These worked extremely well, the biggest problem was getting them to sit on the top edges between the body angles. The decals are well suited for flat surfaces, but it took some work to get them to stick to the edges. I used large quatities of Micro-Set fluid, and even then the welds came off in places during the subsequent assembly steps and needed to be replaced before painting (that’s what happens when you do things in the wrong order  ).
).
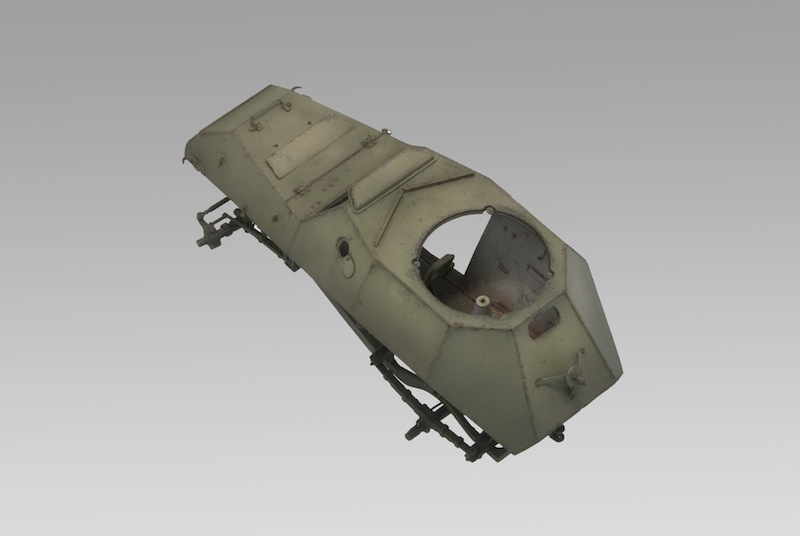
The kit includes a number of tools to be mounted on the exterior of the vehicle, but since I was going for a “stripped down” look, I chose to leave these off and made some simple brackets for the tools from plastic card. Some other smaller details and the doors were also constructed from plastic card.
The exhaust system in the kit left a little to be desired, so I scratch-built a new one (including a new mount for the muffler) from plastic card and rod.
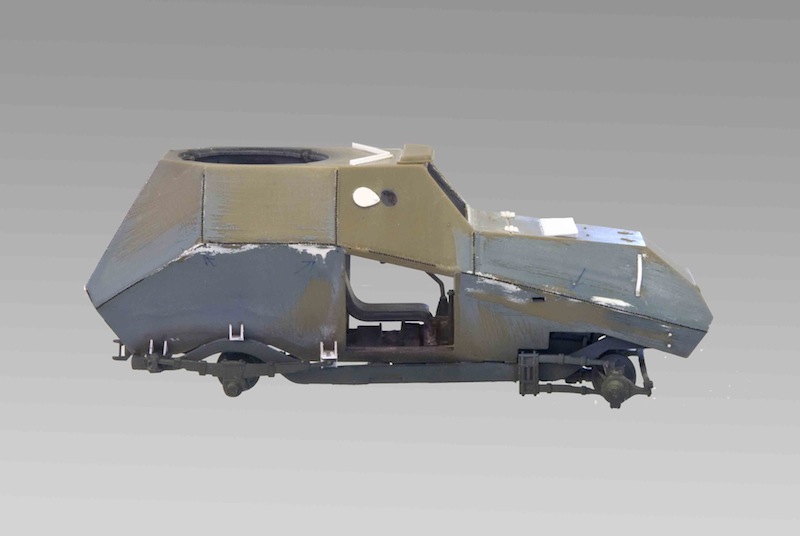
In the pics below, it is clear to see the areas where the weld decals came off, this was as mentioned corrected prior to the painting process.


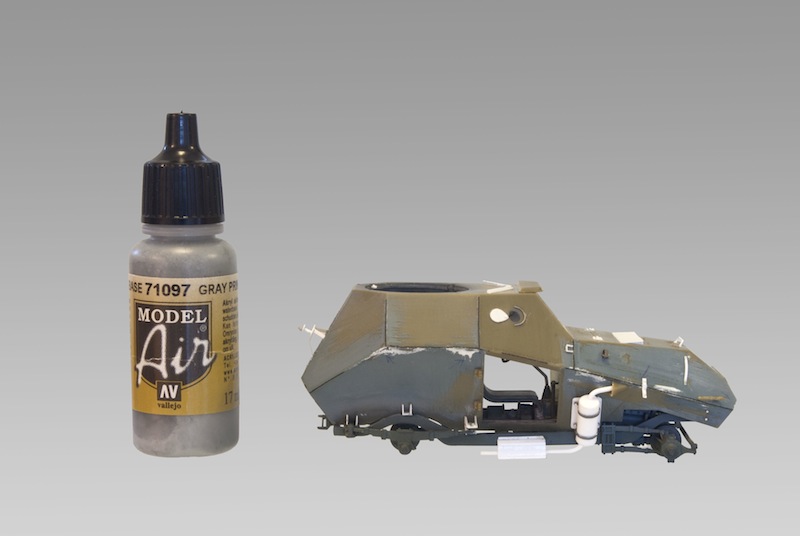
I guess this would also be a good time to show the size of the model, using the famous Vallejo bottle. This is not a particularly large model
Primer:
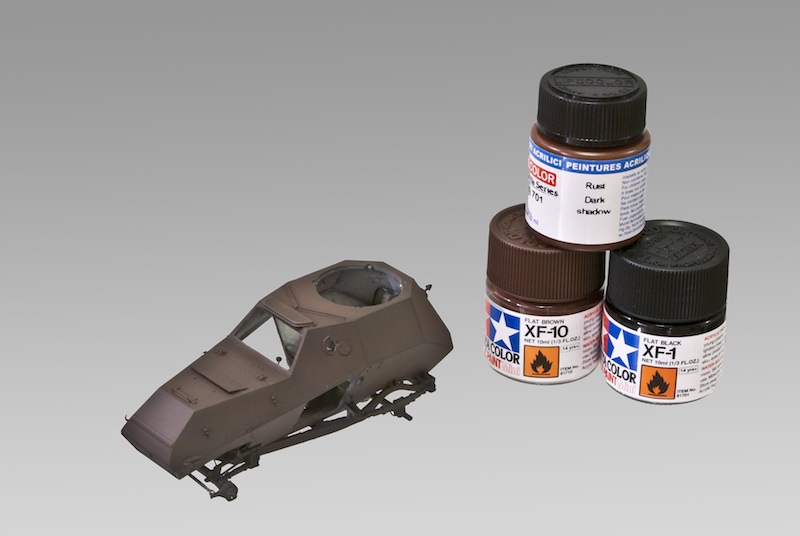
My plan with the primer coat was that it would serve as a base for the chipping using the hair-spray method, so I mixed a red/brown colour for this purpose and airbrushed it over the whole model with some slight shading. Unfortunately, the hairspray method did not work for me this time – more on that further down.
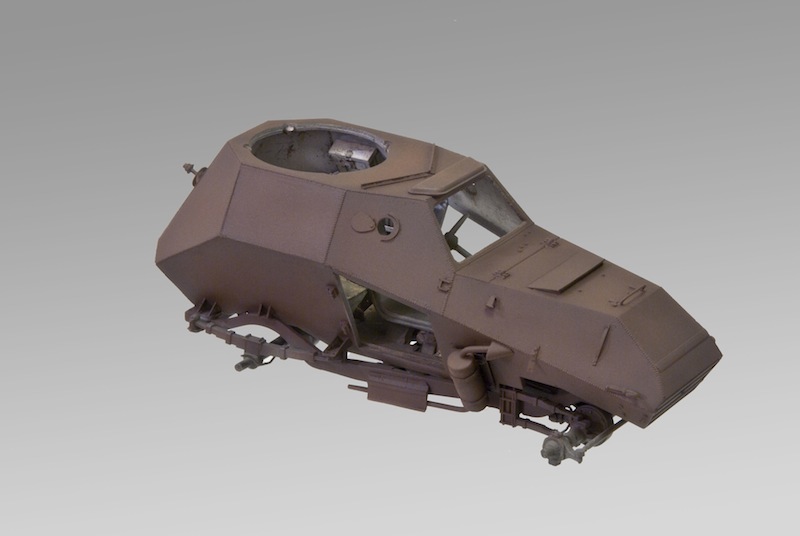
The paints I used for priming:
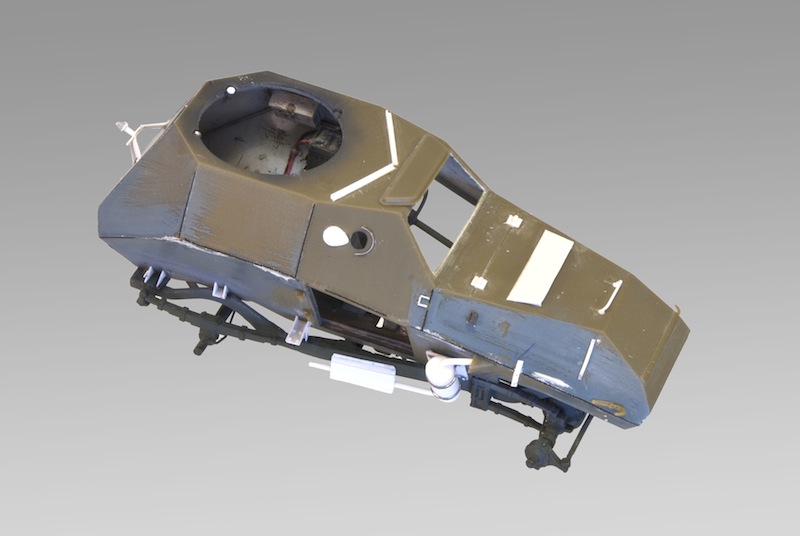
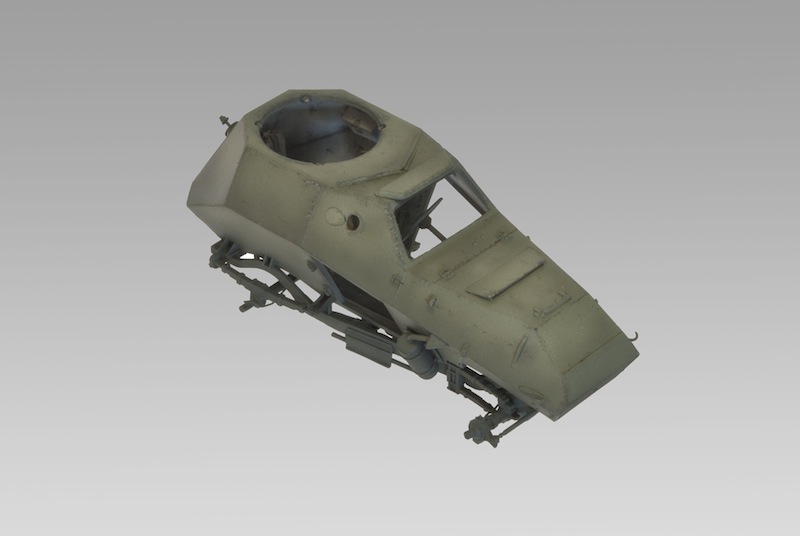
Painting the green basecoat:
Once the primer coat has dried, I airbrushed a couple of coats of AK-Interactive chipping fluid onto the model. I then mixed 4-5 shades of Green based on Tamiya JN Green and Yellow Green, which were airbrushed in a kind of “modulation style” shortly after the chipping fluid was dry. I use the term “modulation” carefully since I do not use this method to its fullest degree, my intent is mainly to capture the shadows and highlights which would naturally fall on the vehicle.
Once the Green paint had been applied, my intention was to apply water with a brush and bring the red/brown primer out per the hair-spray method, but unfortunately this did not work due to a couple of mistakes I made in the previous steps:
1. I did not apply enough chipping fluid.
2. I waited too long after painting the Green colour, making it too resistant to the water.
So, in the end I had to do what I really was trying to avoid, i.e. hand paint the chipping (which I am terrible at). However, all was not lost since I used my trusty new tool, the acupuncture needle, as a “brush” to paint the chipping. Perhaps the chipping became too fine with this tool, it can barely be seen in the pics!
The colour I used for the chipping was Vallejo “German Cammo Black Brown”.
Filter and pin wash:
The next step in the process is filter, and I chose a suitable tan-coloured filter which was applied in two coats with a wide brush. This helped to bring a little warmth into the green, and also united the shading a little more.
After this, dark brown pin wash was applied with a small brush around all raised details and in crevasses to enhance the shadow effekt. The pin wash does have a tendency to flow out a little, but this is nothing to worry about. A few hours after the application all you have to do is wet a small, flat brush slightly in thinner and remove the wash from areas where it is not wanted.
Decals:
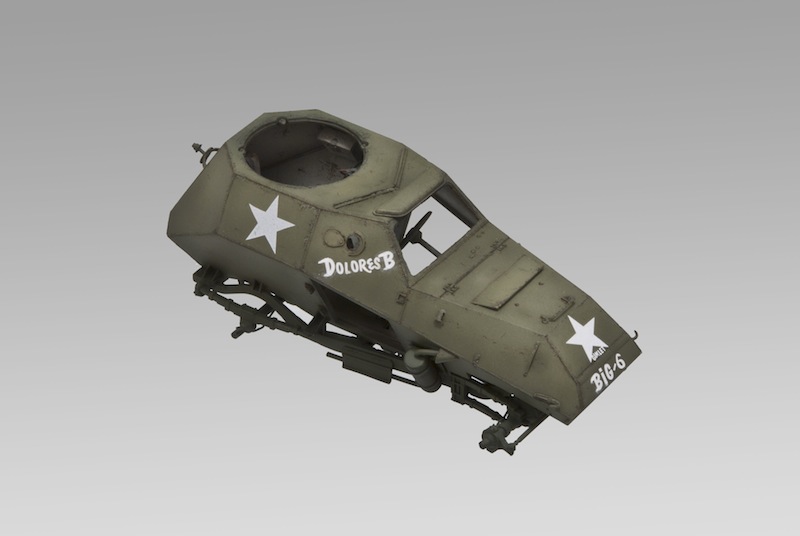
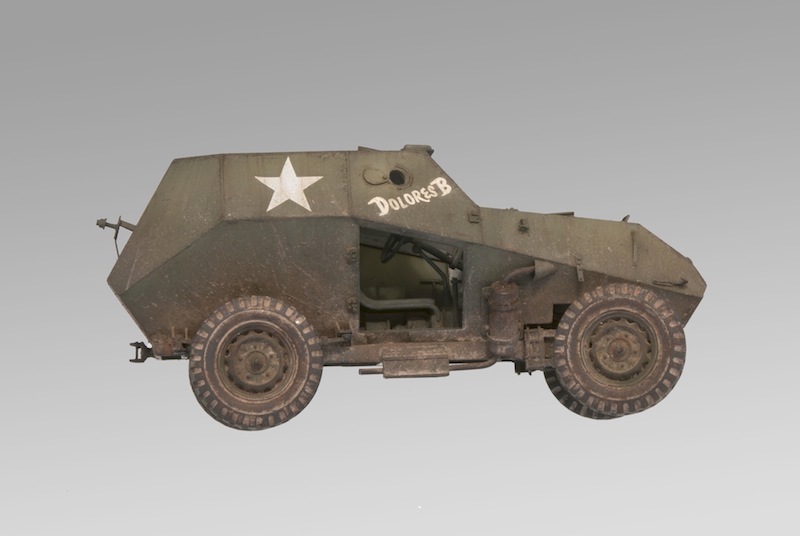
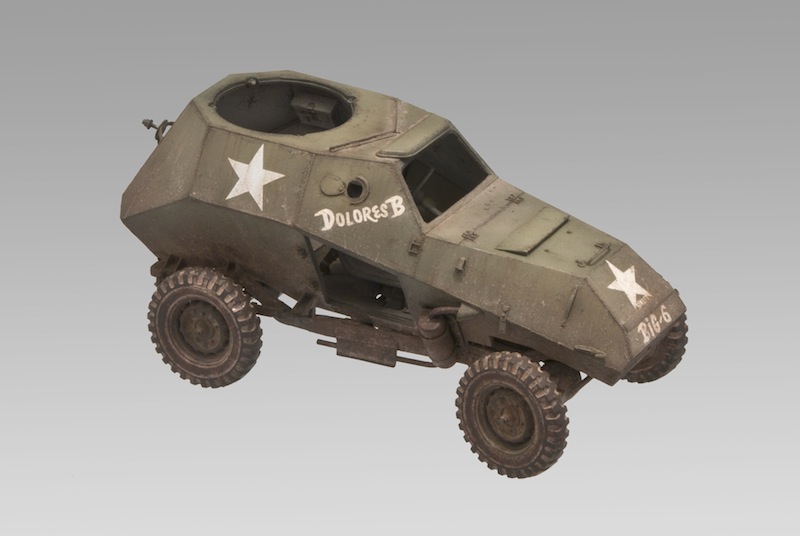
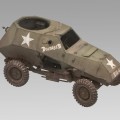
One of the things that really makes this vehicle unique are the markings and names which were painted by hand by the American crew. I chose NOT to handpaint the markings, however, since that would simply have lead to disaster. Instead, I used Archers “hand painted lettering” which I later enhanced with a brush to make them look even more careless and handpainted.
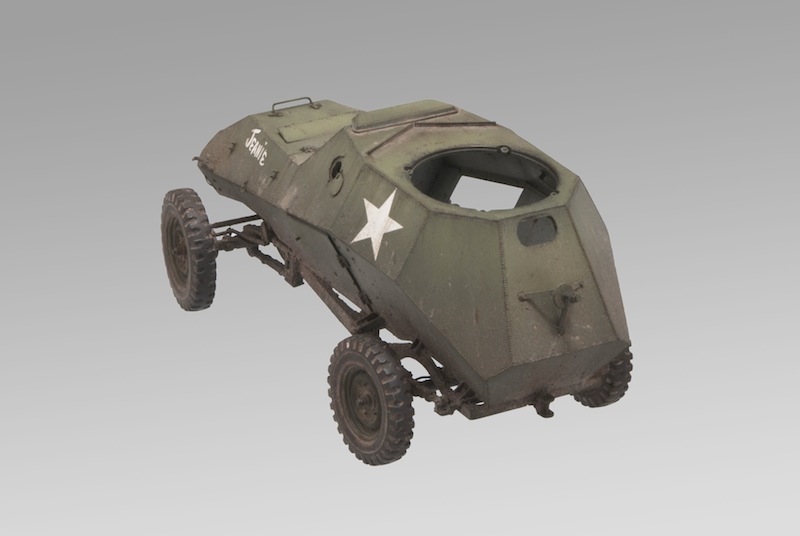
At this stage in the build, I decided to make a small deviation from the actual vehicle. The name “Jeanie” should actually be on the right hand side, but since there are no pictures of the other side of the vehicle, I had no idea what markings (if any) were applied there. I could simply have repeated both”Dolores B” and “Jeanie” on the other side, but I felt this would be too busy. Instead, I simply moved “Jeanie” on the left side of the model, which also helped to balance the markings out. A small compromise which I could live with.
The stars are decals and could be considered to be slightly too perfect in their symmetry, but my theory is that these were applied by the crew using templates and hence not completely hand painted.
It is worth mentioning here that I airbrushed at least two coats of Future Floor polish onto the model prior to mounting the decals. This provides a perfect, gloss surface for the decals to adhere to and avoids silvering. After the decals were all on the model, I applied a couple of coats of satin coat to seal everything in. I prefer a satin appearance to my models as opposed to completely matt, but this is just a personal reference.

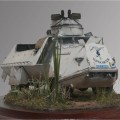
Weathering!
So, now I finally came to the stage which was the whole purpose of this build, the weathering! This is where I wanted to push myself a little further than usual, to gain more knowledge and experience of this process.
I started by brushing a generous amount of MIG pigment fixer on the lower areas of the model, and then carefully sprinkled MIG “rubble dust” pigment directly onto the wet surface (this was even done under the model, an area which is easily overlooked). This method creates a grainy surface which is difficult to achieve simply by brushing on wet pigments. This was done in 2-3 layers, working on small areas at a time.
The process was repeated with smaller amounts of dark mud pigment to create more colour depth.
Even the wheels were weathered using the “sprinkle-method”, and once the pigment had dried it was rubbed off with my thumb (yes, it is possible to rub off pigment which has been fixed with pigment fixer, you just have to rub a little harder ). If I had not done this, the wheels would have looked like big lumps of mud, and that was not the look I was trying to achieve.
After this step, I prepared two sets of pigment mixed with fixer into a “slush”, rubble dust and dark mud. A flat brush was first dipped into the rubble dust slush (i.e. the lighter shade), held up to the model and then I bent back the bristles with my finger and allowed them to spring back and “spray” the model with small dots and splashes of pigment. Some modellers prefer to blow air through the wet brush with their airbrush, and this is also a great method. However, I find “flicking” the bristles with my finger slightly easier to control. Rubble dust was used to create the lighter, dried mud splatter which of course should be underneath the darker, newer mud.
The process was then repeated with the dark mud slurry to create the newer, darker mud splashes.
The final step was to add some longer mud splatter by dipping the acupuncture needle in a jar of “mud in a pot”, holding it up close to the model at a suitable angle and then bending it back and releasing it so it “smacks” against the model leaving a long mud mark. The deeper you dip the needle in the mud, the longer the mud splash.

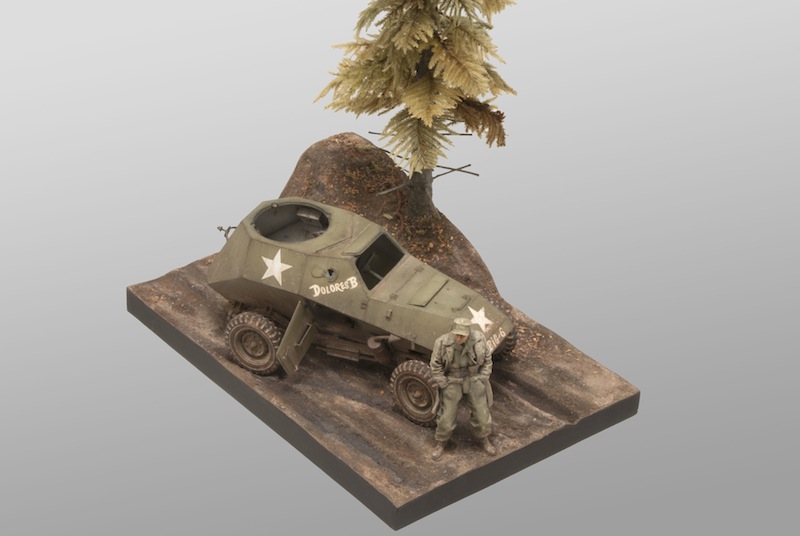
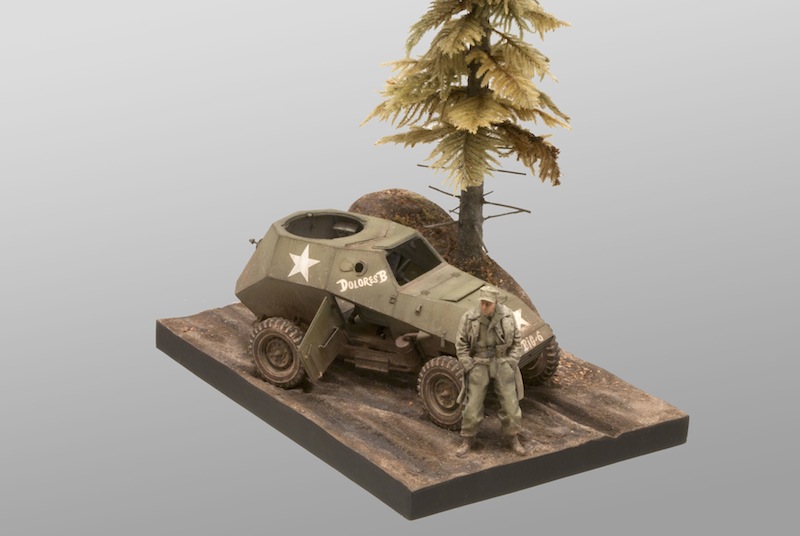
The Vignette:
So there it is, the model was complete and it was time to make a vignette base.
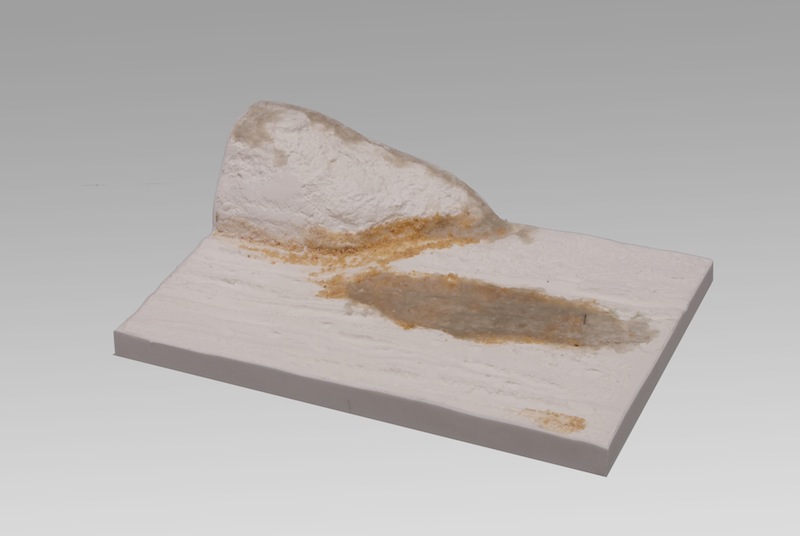
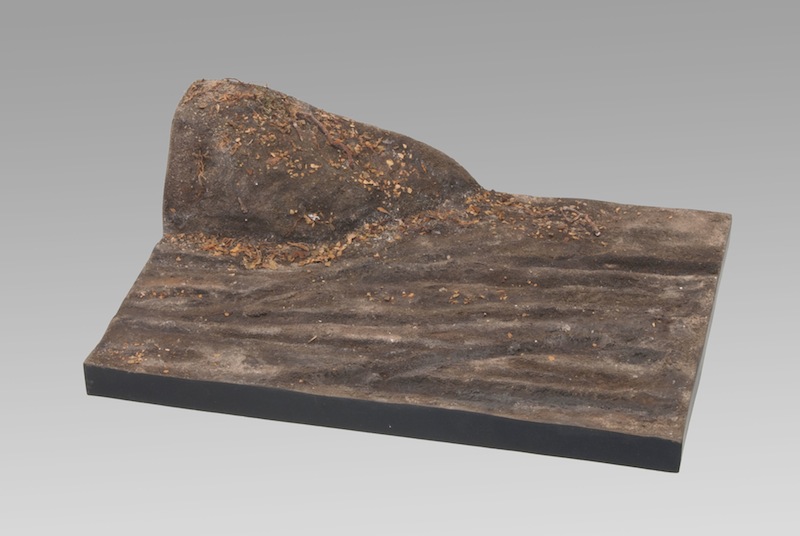
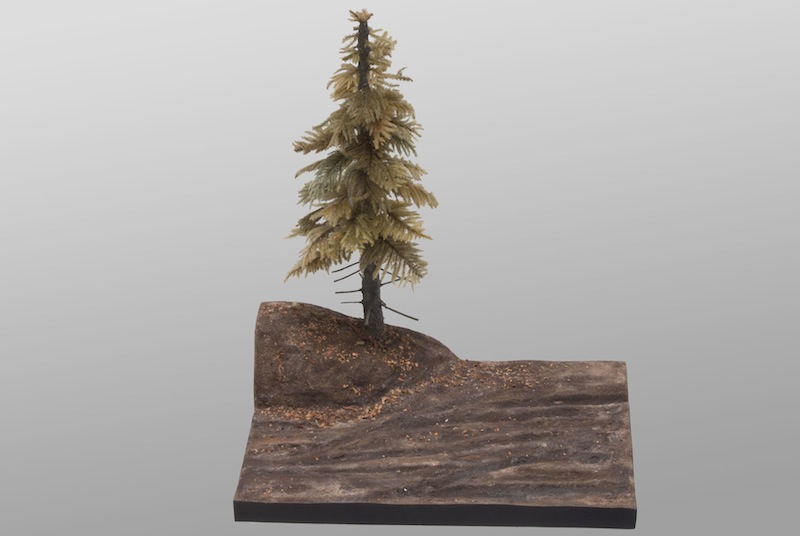
I had purchased a small base from Mk.35 which was a suitable size for this diminutive vehicle. I did not want the base to be too large, and I liked the simplicity of this one. The base also includes a pine tree which consists of a resin trunk and moss for the branches. I chose to replace this moss, however, with a product from Bragdon Enterprises USA which I felt better simulated pine tree branches.
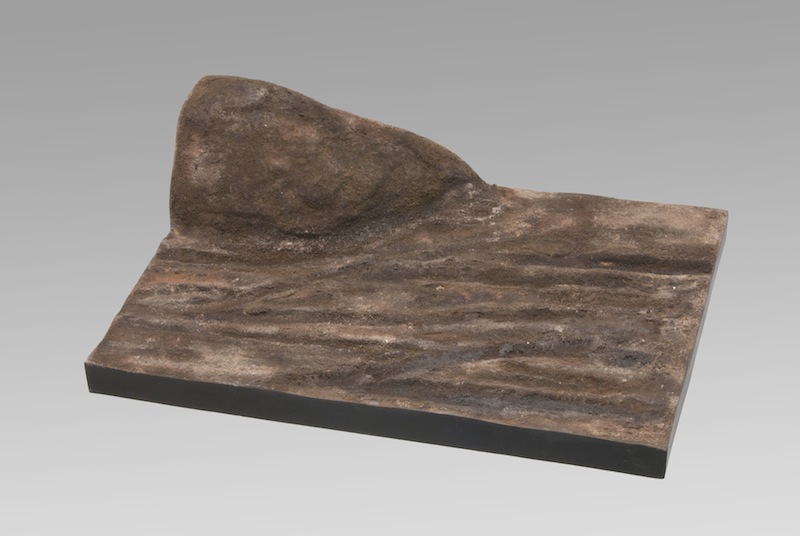
The base was painted in various earth coloured oil paints followed by a light dusting of the same pigments I used on the vehicle (makes sense, right? ). I have not used any wet effect fluids at all, even though I wanted to portray mud. I personally do not feel that it is necessary to flood a base with gloss coat to give the impression of fresh mud, I prefer to work with lighter and darker shades rather than creating an extreme “wet look”. This is again a personal preference, there are no rights and wrongs in the creative process..!
Even though there are no other trees on the base, I decided to add some fallen leaves to give the impression that there are other trees in the vicinity. When using such a small base, its a good idea to show that there is a world beyond the small area you are showing. The leaves were made by crushing real dried leaves into suitably sized pieces and sprinkled onto the base.
In conclusion:
The final step was simply to glue the vehicle to the base, and after being encouraged by some of my modeller friends I also added a figure. I have always been a little scared of painting figures, but I have to admit that I am quite satisfied with the result. I find myself incapable of painting figures with acrylics, however, since I am unable to get the soft transitions between shadows and highlights with this medium. As such, all my figures (which are not many I admit) are painted entirely in oils.
I can say that I really enjoyed the figure painting process, so there will be more of that in the future.
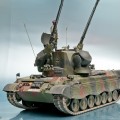
The completed vignette:

So there it is, all done and completed a day or so before C4-Open model show last weekend.
Now onto the next build, I have no idea what that will be but that’s part of the fun of a new project – choosing the subject
Take care, and happy modelling!
Sven

Pingback: ”Beute” BA-64 från Koreakriget – del 2 | IPMS Stockholm
Outstanding build on a generally unknown subject.
Thanks, Edward!
I am really glad you like the finished model.
cheers,
Sven